Build Your Own Keyport Pivot Inserts - Keyport Maker Series #001

Welcome to the Keyport Maker Series, where we empower you to unleash your creativity by designing and building your own Everyday Carry (EDC) tools. In this series, we’ll explore the limitless possibilities of personalization and practicality that come with the Keyport Maker Program. Whether you're a seasoned DIY enthusiast, design engineer, or just beginning your crafting journey, this series is designed to inspire you to turn your ideas into reality.
What is the Keyport Maker Program?
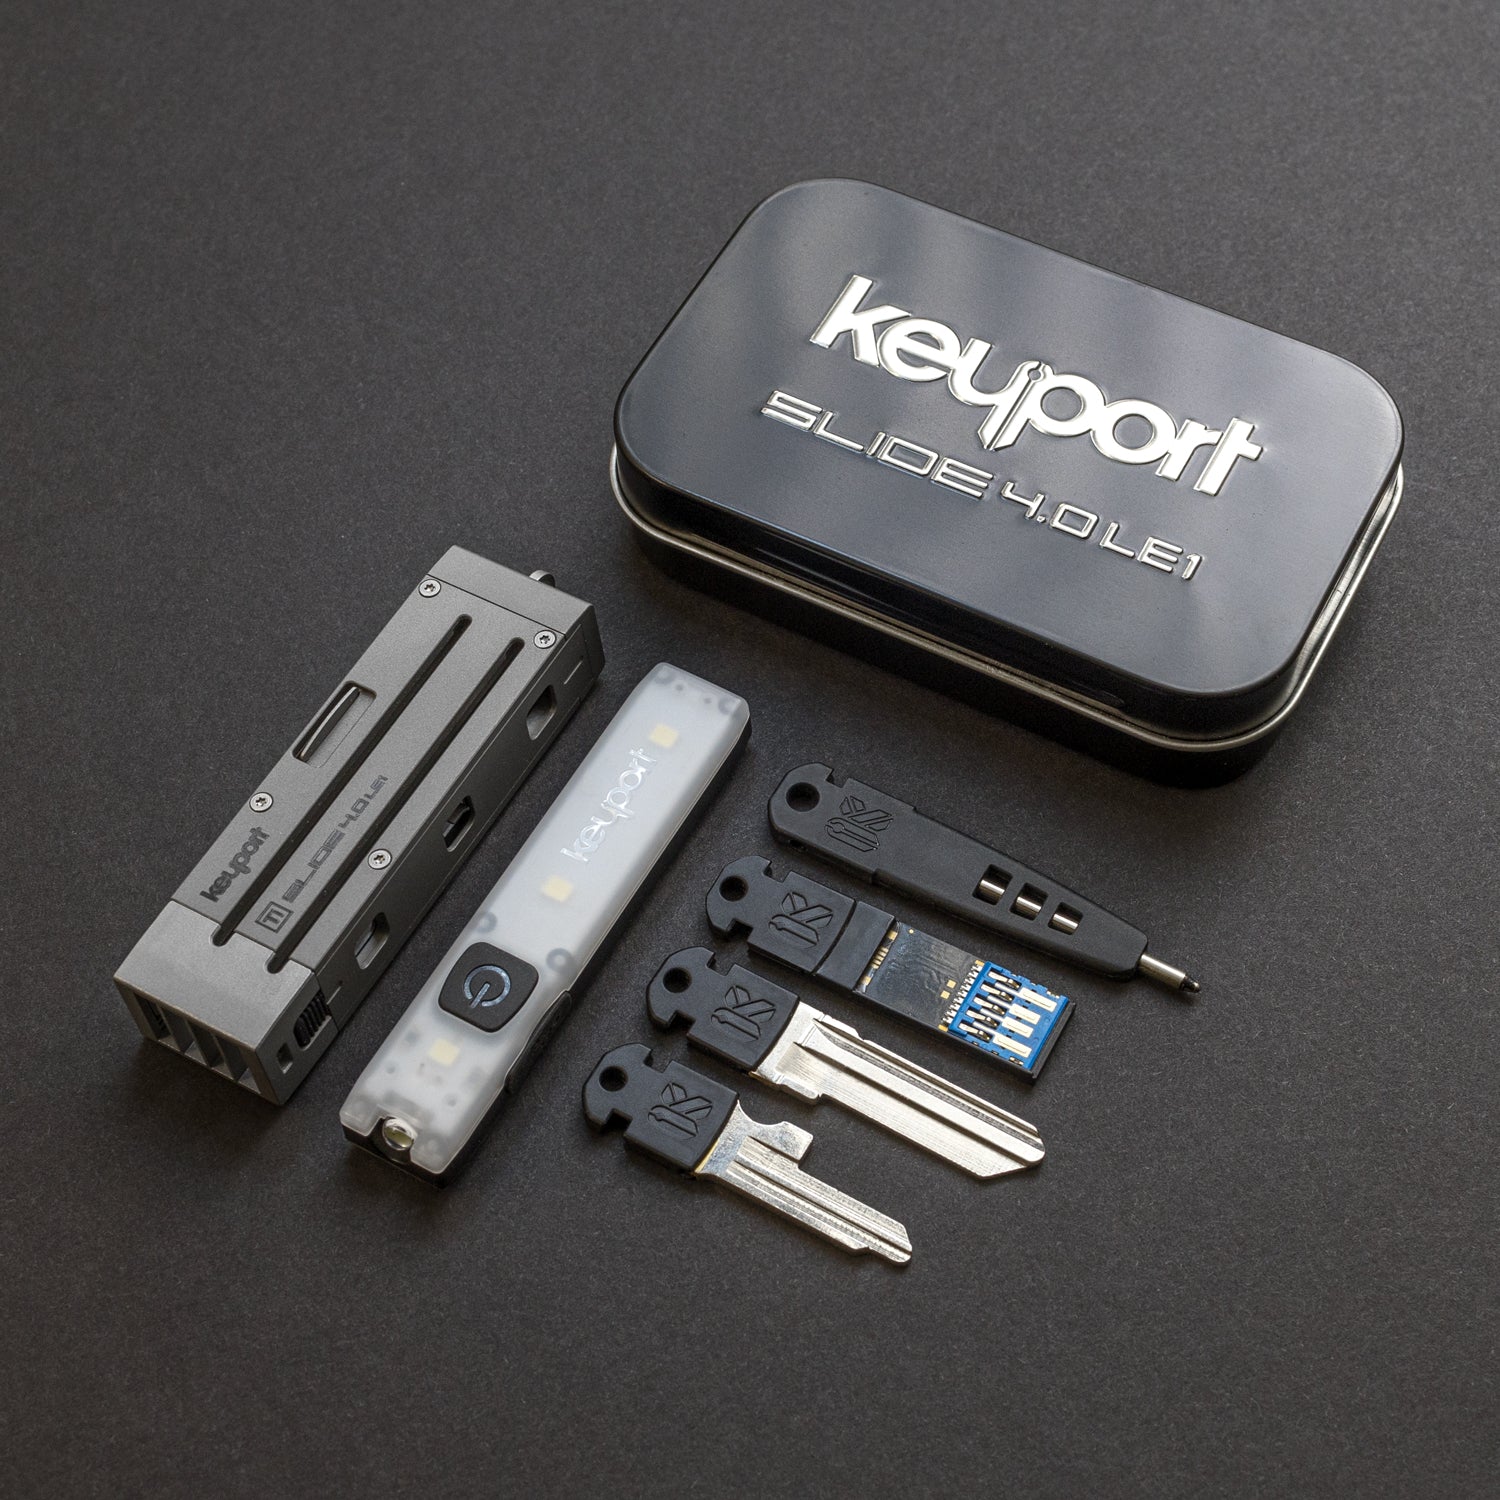
The Keyport Maker Program provides access to an array of design files that you can use to create custom EDC tools for Keyport products, including the Keyport Pivot, Keyport Slide, and Keyport Modules. This program emphasizes user creativity, allowing individuals to either modify existing designs or create new, unique pieces, all without the need for extensive experience or tools. By providing free downloadable files specifically designed for the Keyport system, the program opens up a world of customization for Keyporters and EDC enthusiasts.
Why DIY your own EDC Tools for the Keyport System?
Everyday Carry tools are essential for tackling daily tasks, and customizing them allows you to reflect your style and improve your efficiency. Your daily carry EDC tools not only serve practical purposes, but they also allow you to express your individuality. With the Keyport Maker Program, you can design items that fit perfectly in your Keyport, ensuring that you have exactly what you need when you need it.
Getting Started for Free: No Tools Required
One of the most exciting aspects of the Keyport Maker Program is that you can get started on your DIY journey without spending any money or needing specialized tools. Here’s how:
1. Utilize Free Software
Begin your journey by downloading our free recommended software of choice, Autodesk Fusion 360 for personal use, which is available for free for personal use. This powerful CAD software lets you create detailed designs and is user-friendly, making it perfect for beginners. Simply visit the Autodesk website, sign up for a free account, and download Fusion 360 on your computer. It’s compatible with both Windows and Mac.
2. Leverage Online Resources
Take advantage of the thousands of tutorials and learning resources available online for Fusion 360. You can find extensive video guides on YouTube that cover everything from basic navigation to more advanced techniques, helping you to learn at your own pace. Start off with our first video in the Maker Series which shows you the basics of Fusion while designing a Pivot Insert.
3. Access Keyport Maker Files
The Keyport Maker Program provides downloadable design files that anyone can access for free. These files provide a basic profile for Keyport Modules and Inserts for the Slide, Pivot, and Anywhere Tools Modules. This sets you up for success and allows you to customize and modify the files knowing they will fit perfectly in your Keyport product of choice.
4. Experiment Without Tools
You don’t need a 3D printer or advanced tools to get started. Here’s how to create your designs and see them come to life, even without access to a printer:
- Design Projects: Focus on creating digital designs. Experiment with the features in Fusion 360, like shaping and dimensioning, without the immediate need to print them.
- Online Printing Services: Once you’re confident in your design, submit it to an online printing service. Companies like Xometry or Protolabs allow you to upload your file and choose materials based on your budget.
Step-by-Step: Designing Your First Project
In this first episode, we take you through designing a basic yet functional item for the Keyport Pivot. This project exemplifies how simple designs can meet practical needs while serving as a foundational learning experience in CAD design.
Step 1: Sketch Your Base
Open a new project in Fusion 360 and create a rectangle that represents the overall shape of your beard comb, setting dimensions according to your preferences.
Step 2: Add Functional Features
Utilize the tools in Fusion 360 to create the teeth of the comb. Replicate patterns quickly and adjust spacing and quantities to suit your needs. This practice will build your understanding of feature manipulation in the software.
Step 3: Refine the Edges
Incorporate fillets to soften sharp edges, enhancing usability and aesthetics. These small design elements can significantly impact the final product.
Step 4: Exporting for 3D Printing
When your design is complete, export it as an STL file—this format is essential for 3D printing, whether you plan to print at home or through a service.
Conclusion
The Keyport Maker Series is just the beginning of your journey into the world of DIY EDC tools. Unleashing your creativity not only empowers you to design personalized tools but also enriches your daily life through innovative solutions. So gear up, download the necessary files, and let your creativity flow as you make your very own functional creations.
Get Started with One (or all) of the Free Maker Files
Join the Keyport Maker Program today and start designing your personalized EDC tools. To join, all you need to do is download one of the free maker files, and start designing. Share your work with the hashtag #MadeForKeyport and/or join the Keyport Discord server and share your project in the maker space channel.



Leave a comment
This site is protected by hCaptcha and the hCaptcha Privacy Policy and Terms of Service apply.